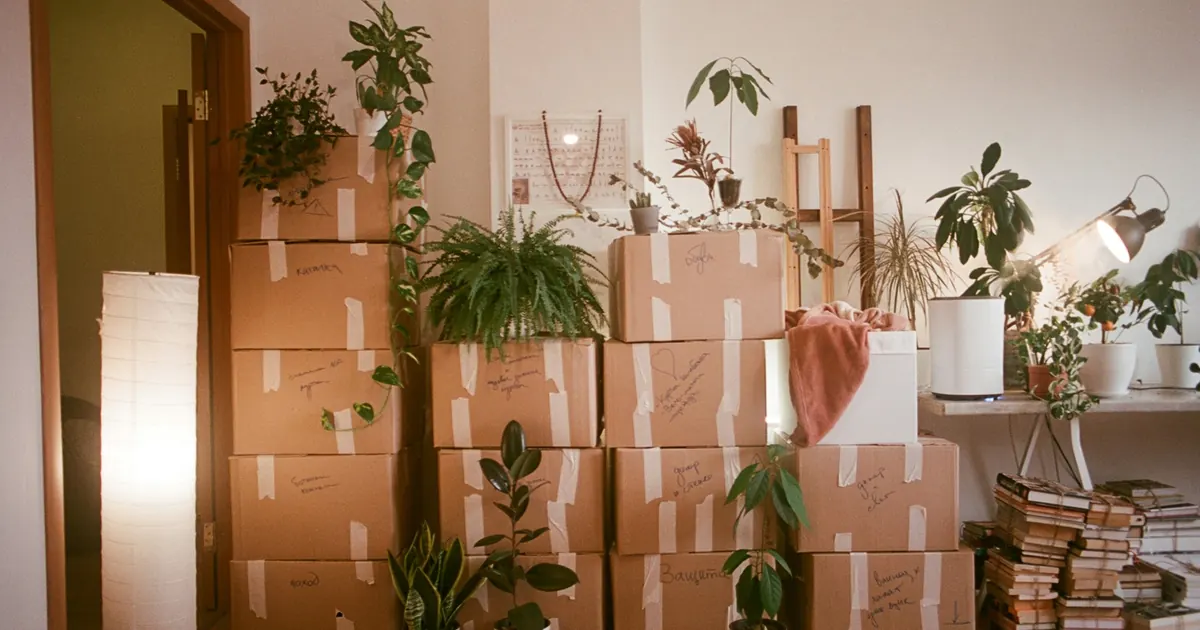
The kitchen is usually the hardest room to pack. It holds more individual items than any other room, many of them breakable, and most of them oddly shaped. It is also where rushed packing shows up first, in the form of a cracked plate or a box of broken glass on unpacking day.
Packing dishes and glasses well is not complicated, but it is specific. This guide covers the supplies that matter, how to pack each type of item, and the small habits that prevent almost all kitchen breakage.
Supplies you actually need
Skip the loose newspaper and grocery bags. Good packing starts with the right materials.
- Sturdy boxes. Small and medium boxes work best for dishes because they stay manageable when full. Many movers use dish pack boxes, which have double-wall sides for extra strength.
- Packing paper. Clean, unprinted packing paper wraps without leaving ink on your dishes. You will use more than you expect.
- Bubble wrap. Useful for your most delicate pieces, such as fine china, crystal, and stemware.
- Cell dividers. Cardboard inserts that create individual slots for glasses and stemware.
- Packing tape and a marker. Use real packing tape, not household tape, and a thick marker for labeling.
Set up a packing station on a clear counter or table. Stack paper on one side, keep the open box on a chair beside you, and work one cabinet at a time.
Build a cushioned base first
Moving in the Bay Area? Get a detailed written quote for your move.
Before any dish goes in, crumple several sheets of packing paper and fill the bottom of the box with a soft layer a few inches deep. This layer absorbs the shock when a box is set down on a truck floor or a sidewalk.
Tape the bottom seams of every box twice across the middle and once along each edge. A box that opens from the bottom when lifted is one of the most common causes of kitchen breakage.
How to pack plates
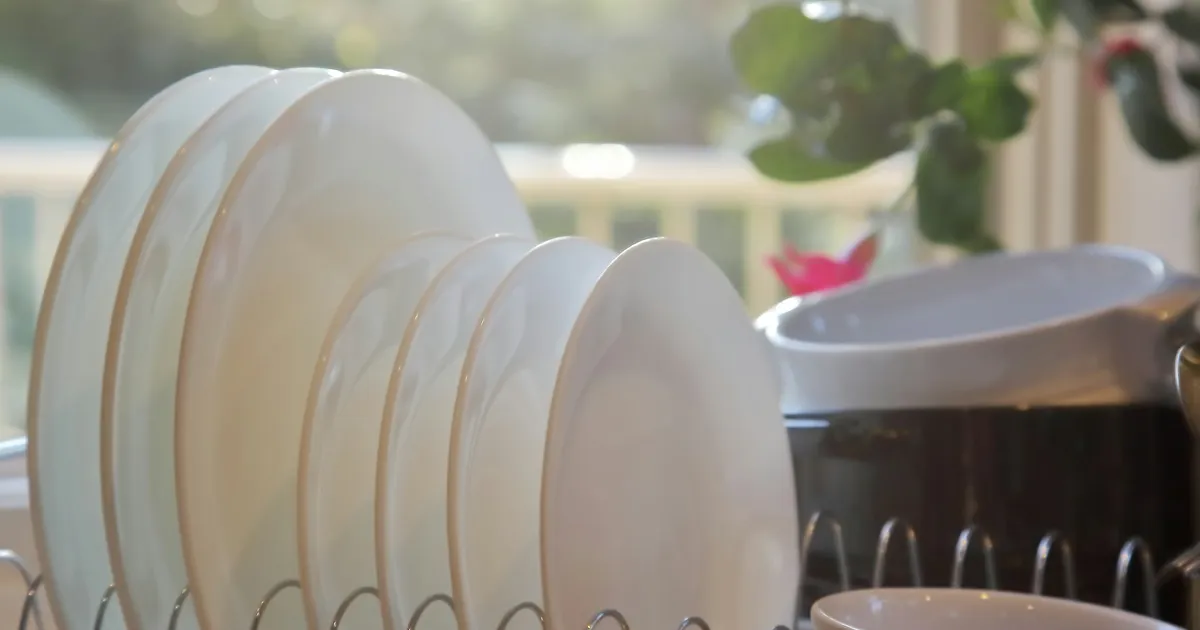
Plates are strongest along their edge, which is why they should travel standing up, like records in a crate, never stacked flat.
- Place a plate in the center of a stack of packing paper.
- Fold a corner of paper over the plate, then place a second plate on top.
- Repeat with a third and fourth plate, then wrap the whole bundle tightly with more paper and tape it closed.
- Stand the bundle on its edge in the box.
- Pack the heaviest plates, such as dinner plates and platters, at the bottom layer.
Fill any space between bundles with crumpled paper so nothing can shift.
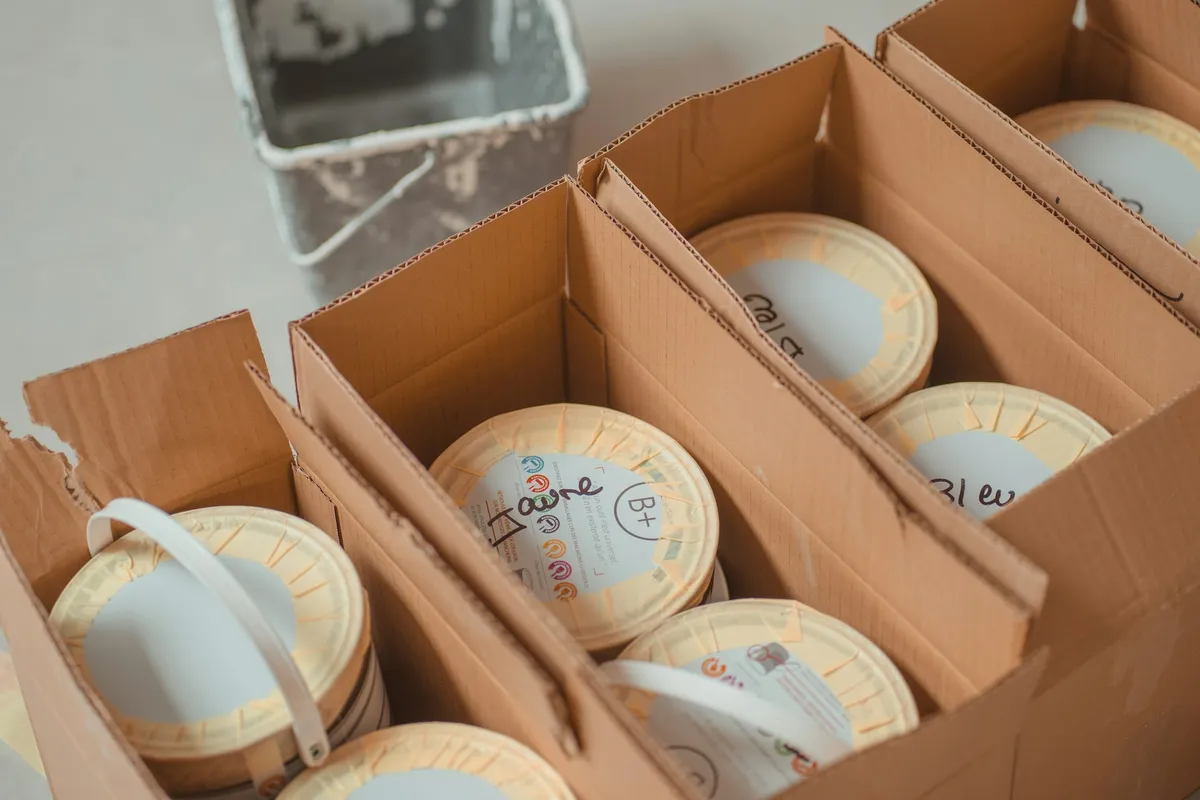
How to pack bowls, mugs, and serving pieces
Bowls nest together with a sheet of paper between each one. Wrap the stack of two or three as a bundle and place it on its edge or rim down.
Mugs and cups are wrapped one at a time. Stuff a small piece of paper inside first, add a layer of paper around the handle, then wrap the whole mug.
Serving pieces such as casserole dishes, gravy boats, and pitchers are wrapped individually with extra paper on handles and spouts, since those parts break first.
How to pack glasses and stemware
Glasses are thin and break easily under uneven pressure, so they need individual attention.
- Stuff the inside. Fill each glass with crumpled paper so it resists pressure from outside.
- Wrap each glass separately. Roll it diagonally in paper, tucking the ends into the opening.
- Protect stems first. For wine glasses and other stemware, wrap the stem with its own layer of paper or bubble wrap before wrapping the whole glass.
- Use cell dividers. Place each wrapped glass in its own slot. Glasses usually travel best upright or rim down, depending on shape, never lying loose on their side.
- Keep glasses on top. Put the box of glasses in a lighter box on its own, or on top of heavier dish boxes, never underneath.
How to pack pots, pans, and small appliances
Pots and pans can nest inside each other with a sheet of paper between each one. Wrap lids separately, since glass lids break easily, and place them upright along the side of the box.
Knives should be wrapped in several layers of paper or a dish towel, taped closed, and clearly marked so no one reaches into the box without warning.
Small appliances travel best in their original boxes if you still have them. Otherwise, wrap each one in paper, fill the box around it, and bag and tape the cord. Remove glass carafes, blender jars, and blades, and pack them separately.
Clean and dry everything before it goes in a box. A coffee maker or blender packed with water inside can leak onto the rest of the kitchen.
Fill gaps and check the weight
Once a box is full, add a final layer of crumpled paper on top so the lid presses down on paper, not on dishes.
Then do a gentle shake test. Close the flaps and rock the box slightly. If you hear or feel movement, open it and add more paper.
Watch the weight. Dishes get heavy quickly, and an overloaded box is harder to carry safely and more likely to be dropped. As a general rule, keep kitchen boxes to about 50 pounds or less, and use smaller boxes if you are unsure.
Label boxes clearly
Label every dish box on at least two sides and on top:
- FRAGILE
- KITCHEN
- THIS SIDE UP with an arrow
- A short list of contents, such as "Dinner plates and bowls"
Clear labels tell the crew which boxes to stack on top, which to keep upright, and where to place them in the new home.
Keep a kitchen essentials box
Pack one open box with what you need for the first two or three days: a couple of plates, bowls, cups, and utensils, a pan, a knife, dish soap, a sponge, paper towels, and coffee or tea. Keep it with you in the car so you can eat on the first night without searching.
When professional packing makes sense
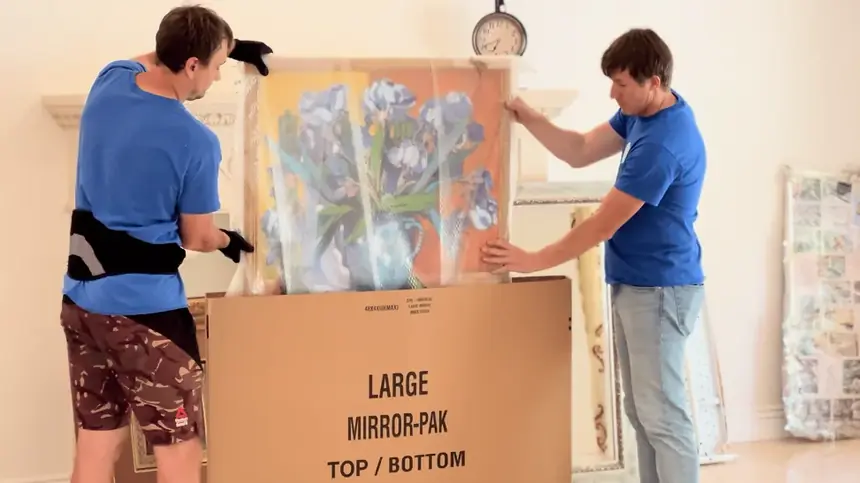
Packing a full kitchen can take a surprising amount of time, especially with fine china, crystal, or a large collection of glassware. If time is short, or if the pieces are valuable or sentimental, a professional packing crew can take it on.
Impel's full packing service includes the materials, and every carton is labeled by room and contents. For apartment moves with tight timelines and building move windows, packing ahead of the crew's arrival keeps the day on schedule.